Miniart's Bantam BRC 40 4x4 Truck w/Crew Build Blog.
| Part One |
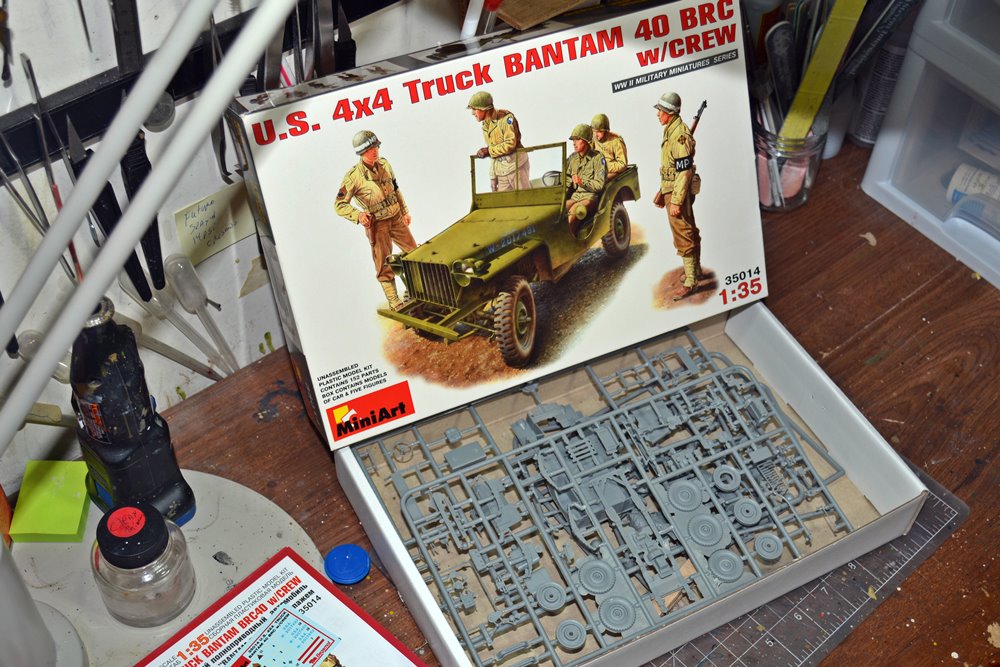
Here we are at the start. This is my first Miniart kit. First thing I noticed is the amount of flash on the part. They appear to be well defined, just have a lot of flash to cut off. Also the plastic for these kits seems a little more brittle than say Tamiya.
| Part Two |
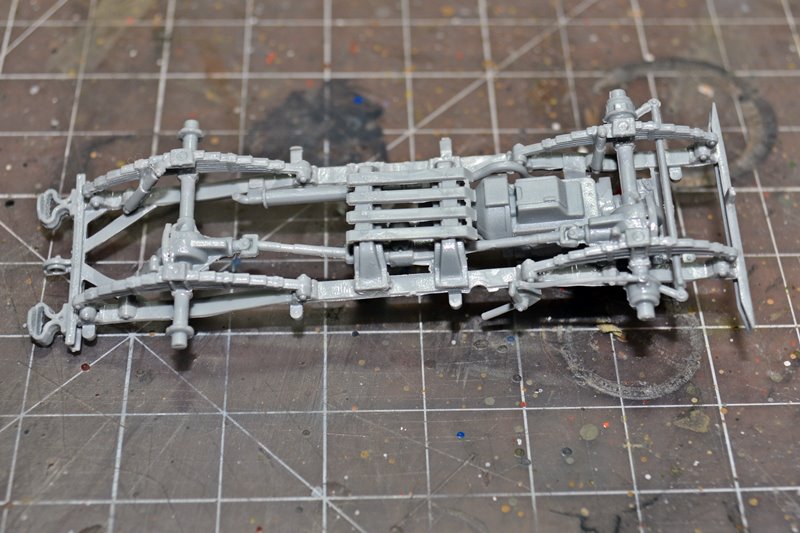
Here are two views of the Chassis.. top and bottom. Everything is fairly detailed and goes together straight if you are careful, and this small kit holds a lot of detail.

| Part Three |
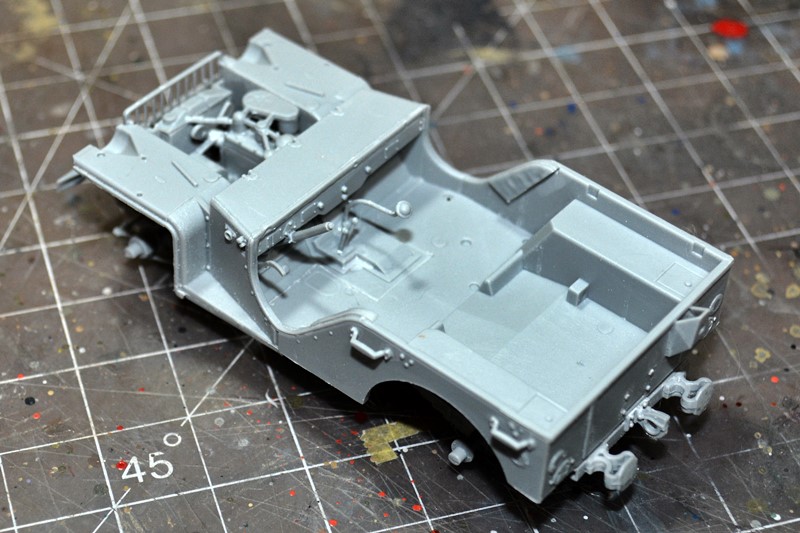
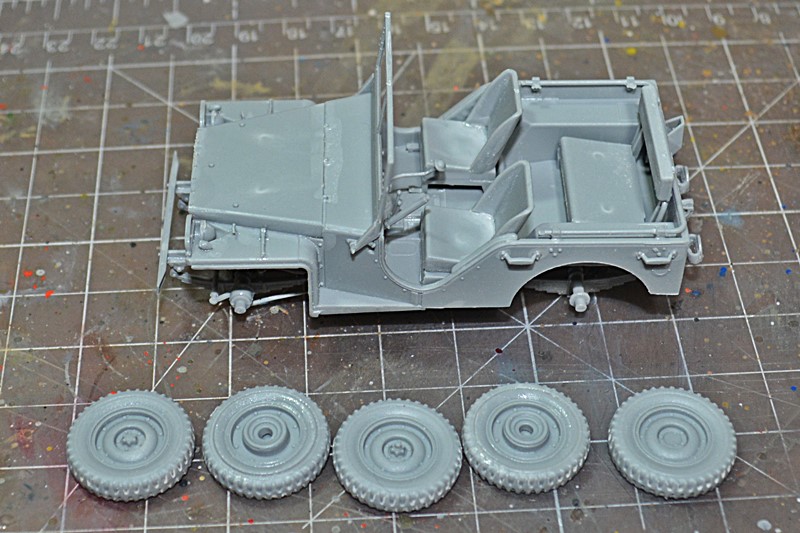
A couple of photos of the body and showing the fit to the chassis. A basic build with the only difficulty is getting rid of all the flash that was on the wheels.
| Part Four |
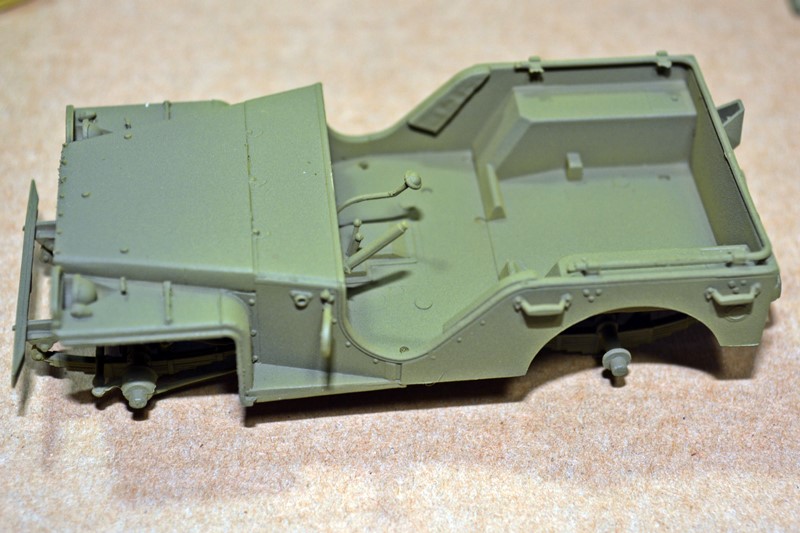
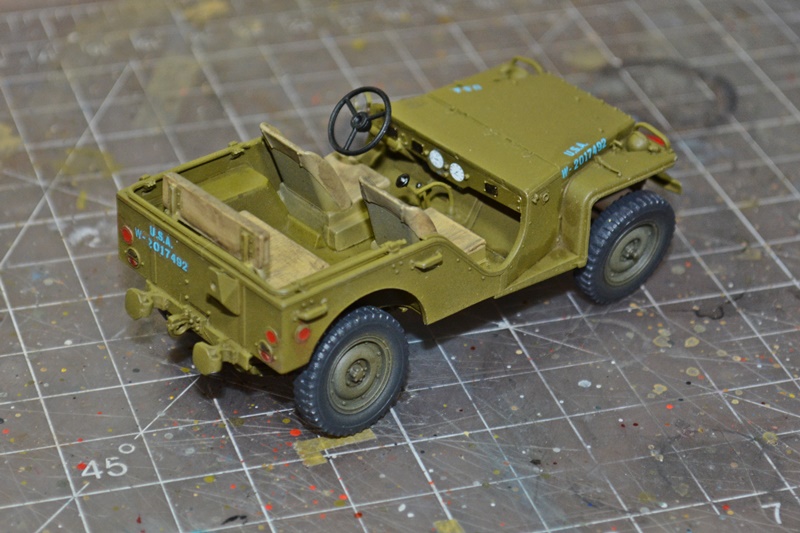
The Start of my Painting process for this one. I am trying for a multi toned olive drab. I used a base of dark olive drab then a lighter coat of Olive drab over that for some shadows and highlights.. here is a photo.. it will prob blend a little more after some weathering..
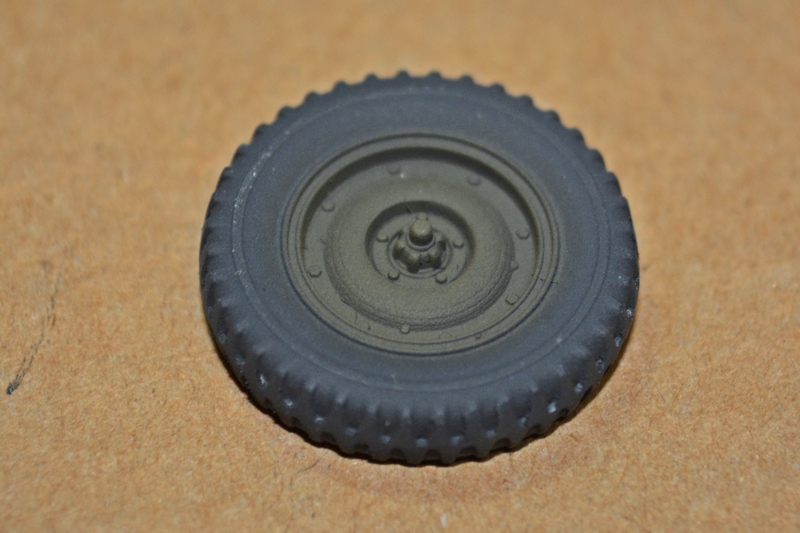
Also did the tires and wheels.. base of Floquil Weathered Black, followed by the base OD and then the lighter OD to really try and bring out the details.
| Part Five |
| Part Six |
| Part Seven |
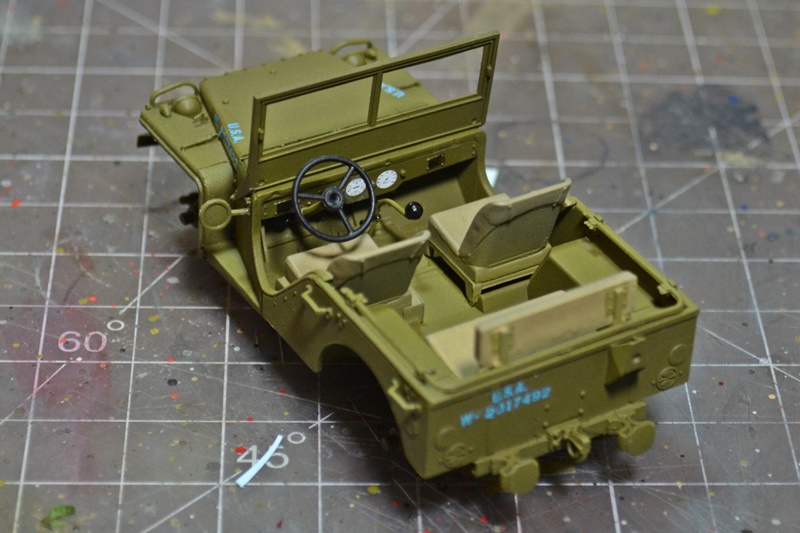
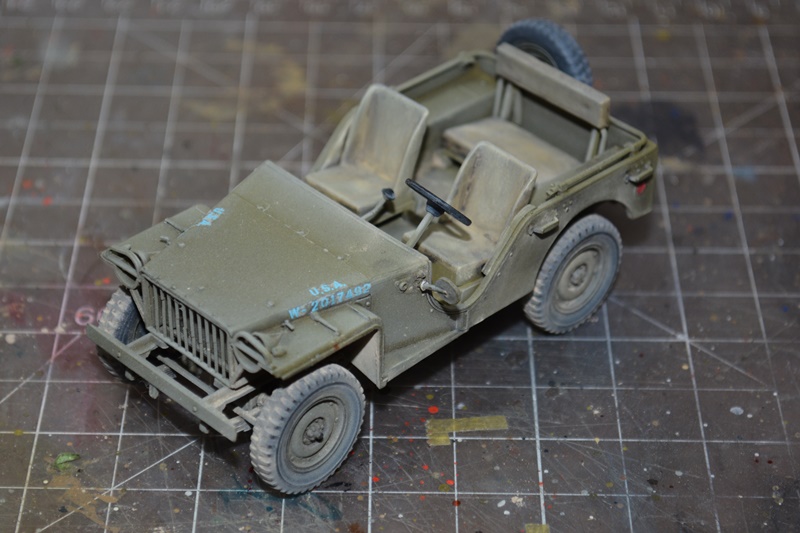
Finished up the detail work and started on the weathering.
I took this photo with no flash using day lighting to give a better view of the colors..
I've weathered it up with some AK Interactive Dust Effects and some Dust pigments. I think I have it toned down to a more military look.. the pigments are a little heavy in places but will be toned down more when I spray my flat coat on..
I am going for a dusty look of a vehicle that has been out the field being used as only a Jeep can be...
| Part Eight |
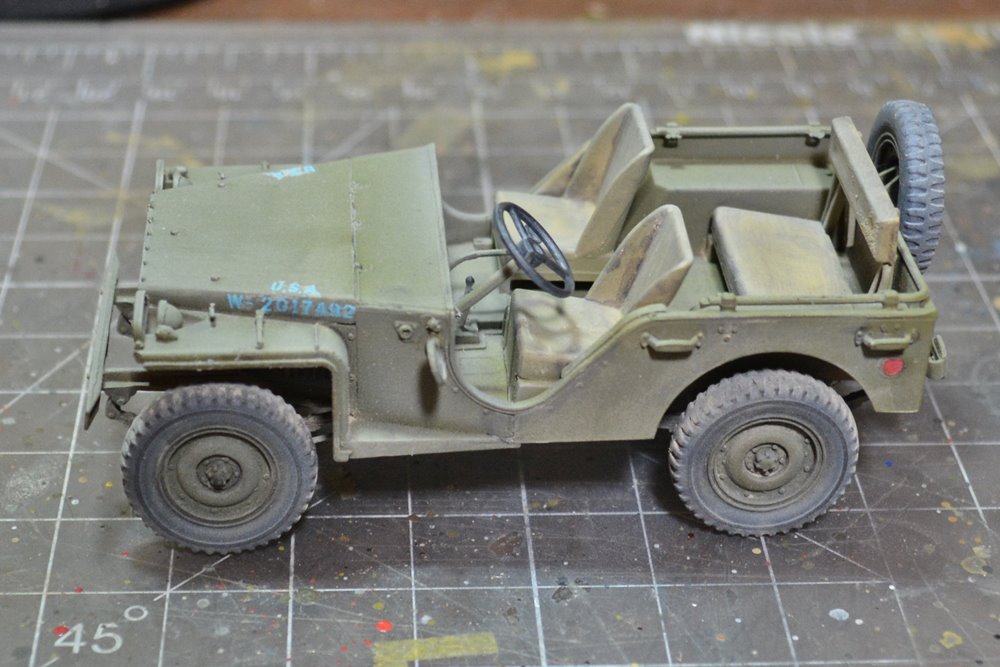
Did the Flat Coat, used Vallejo's Matt Clear then retouched up the pigments, still have to fix the tires a little and add some slightly different color dust for a better effect.
on this build I went with a base coat of Model Master olive drab
Then a top down spraying of lightened olive drab....
then I sprayed the underside allowing some over spray along the sides and back of Ak interactive Dust Effects (Ak 015)
then I heavily weathered it logically using AK's European Earth Pigments AK-042..
then a flat coat which toned down a bit of the pigments and then touched up with some more pigments where needed.. so far so good.. I am a real fan of Dusty.. lol I think different tones give an olive drab model some wow factor.
Ok now here is the last build photo before I get to the finals.
| Final Finished Model. |
Finished model. Somewhere along the way I lost the windshield. the blue number decals are not the best but everything else cam out great.
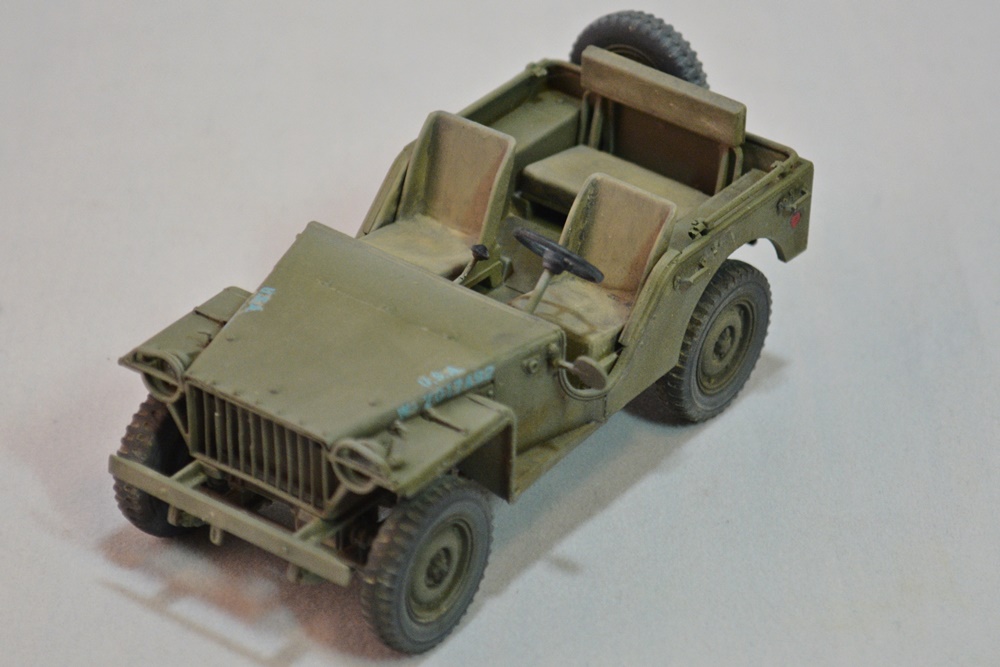
Click here to see more photos of my Bantam BRC40 in my Model Gallery