A Guide to using Solvaset
Decal Demon, or Builder's Buddy
A powerful modeling tool explained
 Solvaset Described:
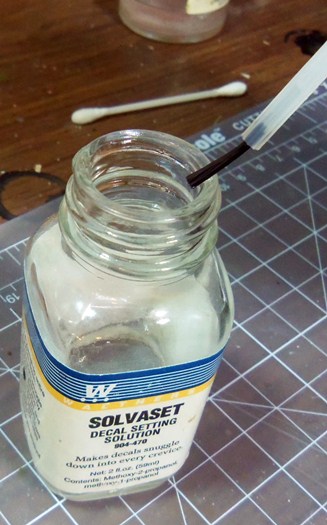
Solvaset, Decal Setting Solution. Just the name of this powerful chemical is enough to send scale model builders running for cover.
You ask why, well many say its overpowered, It destroys decals, It damages the paint, and pretty much anything negative that can be said, has been.
However, those who have learned to handle Solvaset and master its use will swear up and down that there is no better Decal setting Solution on the market.
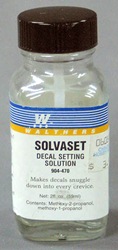
Walthers 904-470 Solvaset Decal Setting Solution is made by Walthers who specialize in Model Railroading. Their sales blub for Solvaset goes like this.
"For the most realistic models, decals should look like they're painted on. Getting professional results is easy with Solvaset. It actually softens the decal film so it snuggles down to the surface and stretches over details, such as rivets, without hiding them. Also eliminates air bubbles, white spots, draping and silvering. Just brush it on and Solvaset does the rest!"
Solvaset is a 'hot' decal solvent, it works by apparently melting the decal onto the model and surface details so that it has the covering properties of paint. Compared to Solveset, Micro-sol and Micro-set are much weaker products.
Solvaset, The Tutorial:
Now for this study, I've chosen one of my latest builds to demonstrate the proper use of Solvaset, we will be applying the U.S. Star marking to the hood of an M3A1 Scout car. The decals will cover several hinges along with a pair of channels in the hood where the body panels hinge.
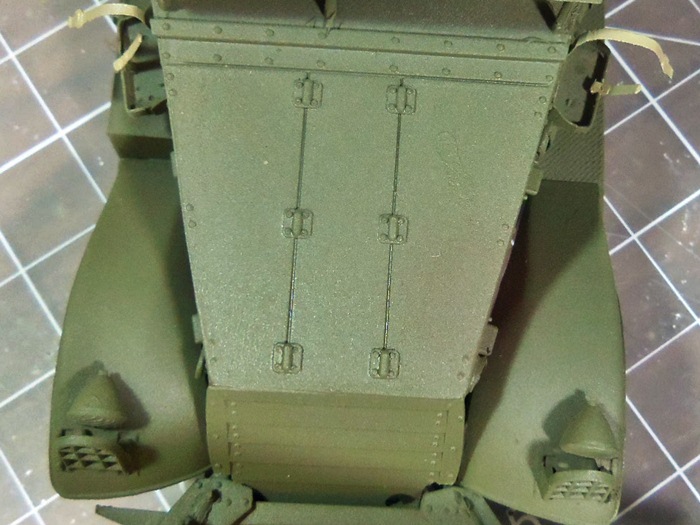 Photo 1
In the first photo you can see our work area, this example is painted in enamel paint and then airbrushed with a couple of light coats of future.
I strongly recommend that you use solvaset on top of a future coat, as this helps prevent silvering and gives your base coat of paint more protection from discoloring and other problems that can result from using solvaset too heavily on top of only paint.
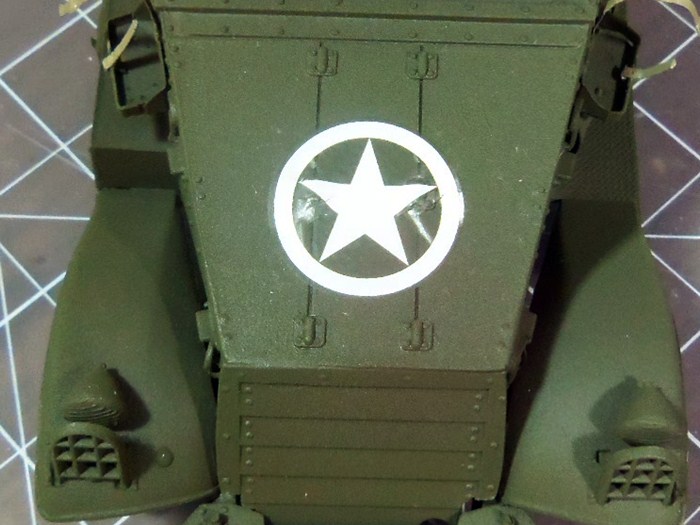 Photo 2
In Photo 2 we apply the Decal as directed by the instructions. Here you can clearly see the clear decal film in the center where it is trying to cover the details. This decal if from a Zvezda set for the M3A1 kit. After the decal has set for a bit and has dried, it is time to start snugging it down with solvaset.
Now here is where the real secret of using Solvaset comes into play.
RULE #1 is to use it sparingly. The built in brush that comes attached to the bottle lid will hold to much Solvaset to put on your model at once.
Run the brush against the inside of the bottleneck a few times to remove excess material, you want to add only a little at a time, its a lot like dry brushing. If there is too much on your brush you run the risk of damaging your paint finish.
Alternately you can ignore the bottle's brush and use your own dedicated smaller paintbrush. I prefer to use the bottle one myself as its so much handier and you always know where it is.
My Golden rule is to use the Solvaset as if I was dry brushing, not painting. Too much and you run the risk to at best discoloring your paint, to at worst eating through your paint, hence the sometimes bad reputation it has.
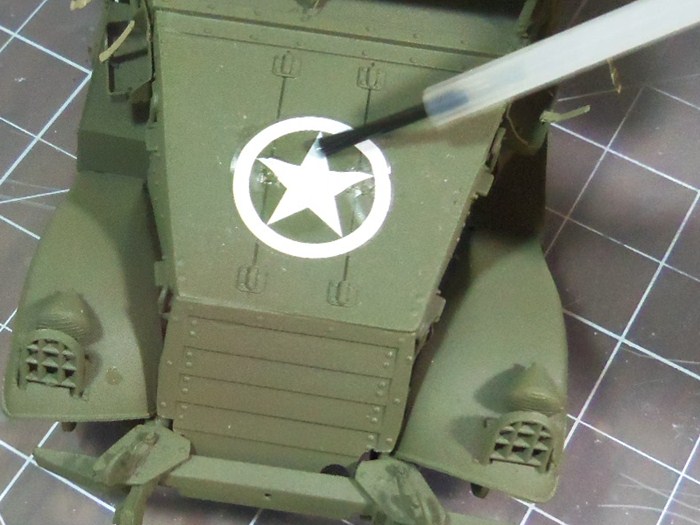 Photo 3
In Photo 3 we apply the Solvaset directly on the decal in small brushing motions. Try to keep the Solvaset on the decal and just barely go past the edges of the decal to minimise any problems with your paint finish. At this stage do not reload your brush with solveset more than once more if needed for a large decal.
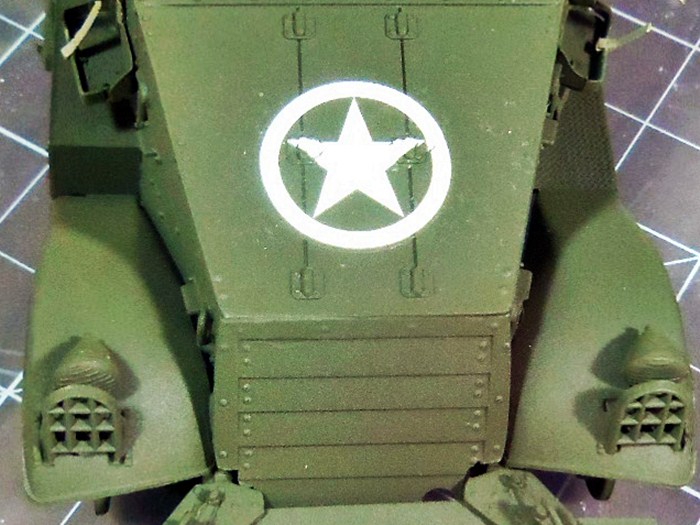 Photo 4
 As you can see in Photo 4 as you quickly brush on the Solvaset, the decal will start to snug down to the details on the model. At this point you must be careful, because if you keep brushing for to long, as the decal softens and snugs down it becomes weak and your brush can and will start to damage it.
At this point set the Model aside for 2 or 3 hours, then come back when the decal is completely dry, and repeat the last step as needed until the decal is snugged down until it looks like paint. But remember, too much Solvaset at any one time can damage or destroy your base coats, even those protected by future or other clear coats..
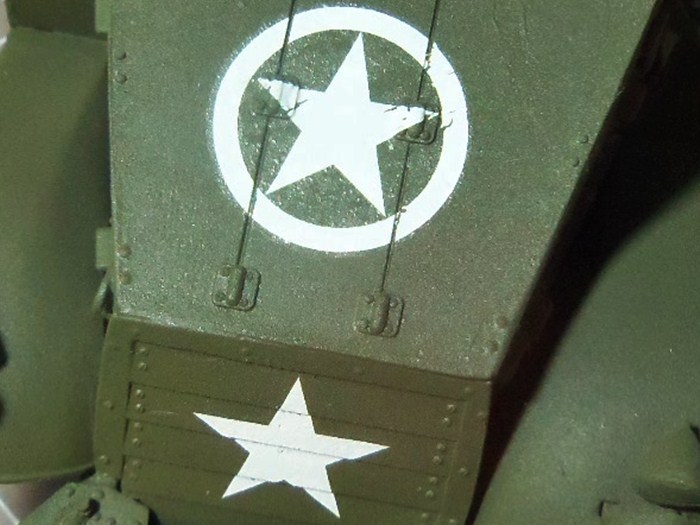 Photo 5
As you can see in Photo 5 the Solvaset has snugged the decals over the top of the hinges pretty well, also the front star over the radiator cover is snugged down.
You can also see on the right and left points of the star some cracking that occurred due to my brushing after the decal had become to soft. Also the gap between the body panels was just a little too wide for the decal to cover well. I used a toothpick to carefully press the dry decal into the gaps between a couple of my applications.
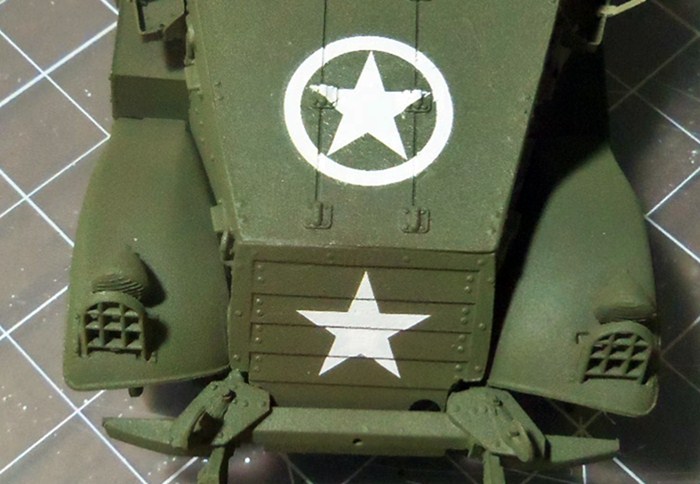 Photo 6
In Photo 6 we can see the finish of the decal, I've fixed the minor damage to the decal and the gaps in the coverage in the body panels with some careful application of white paint. At this stage there is almost no silvering, and we have yet to add our top future coat.
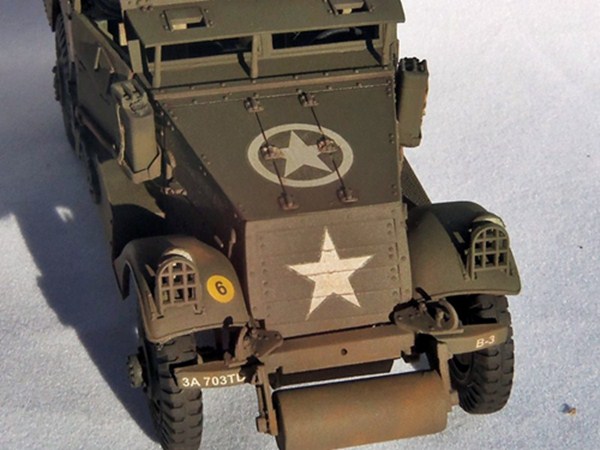 Photo 7
In Photo 7 we can see our finished product after a top coat of Future, the weathering and a final coat of dull coat. This photo was taken in bright sunlight.
The following 3 photos are some examples of my models i've used solvaset on over the years.

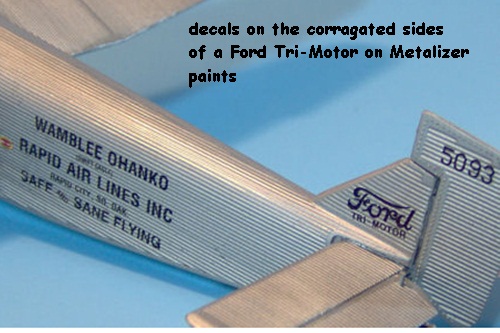
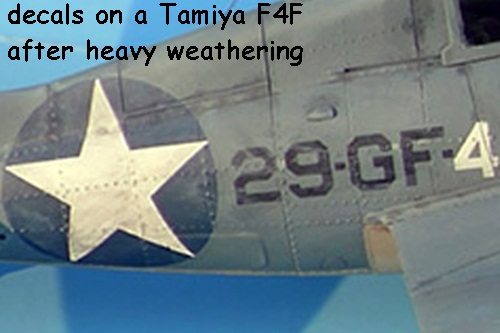
I have been using this product for about 10 years now and it is on of my primary tools for dealng with decals. I have heard that some after market decals have problems with Solvaset such as Microscale, but I havn't used any of those yet so i'd recommend to test the product on aftermarket stuff before using on anything important.
I've used Solvaset with Tamiya, Dragon, Academy, Revell-Monogram, Zvezda, and PST kit decals with no problems.
I've written this guide as a starting point for those who wish to know more about Solvaset. This information comes out of my own experience over the past 10 years. Everyone should build on their own experience and use others knowledge as a stepping stone.
Solvaset is strong stuff, test it on some unimportant decals for practice before using on something you don't want to mess up so you will know what to expect. After all practice makes perfect.
- For an all around practice idea, try this.
- Do some airbrush practice on a plastic soda bottle.
- Practice airbrushing a future topcoat.
- Practice decaling with some old unwanted decals and solveset.
Thank you for reading
Delbert