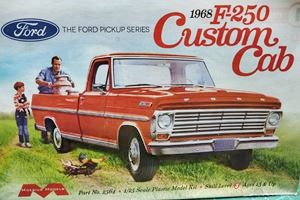
1968 Ford F-250 Custom Cab Build Blog.
| Part One |
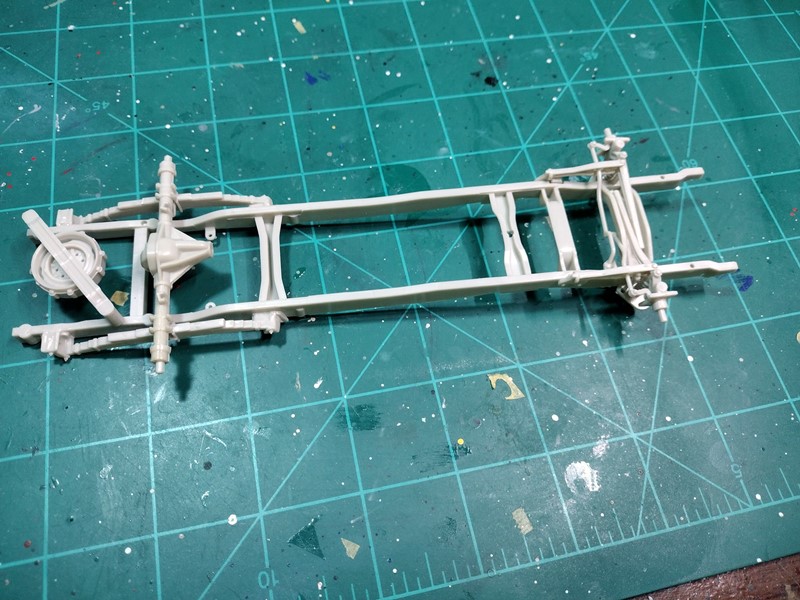
Chassis built, Everything came out nice and Straight so far.
| Part Two |
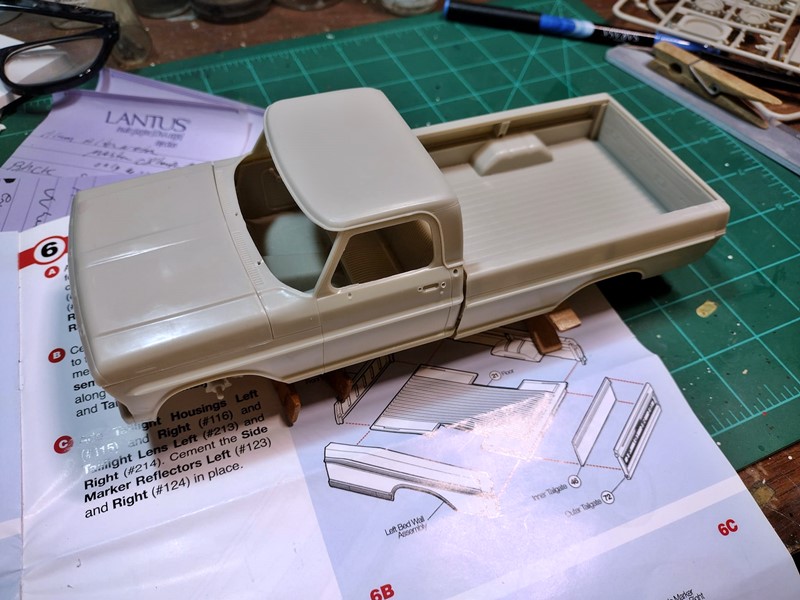
Body parts bult up and test fitted looking good so far. The Bed was a little tricky but assembled well once I figured it out.
| Part Three |
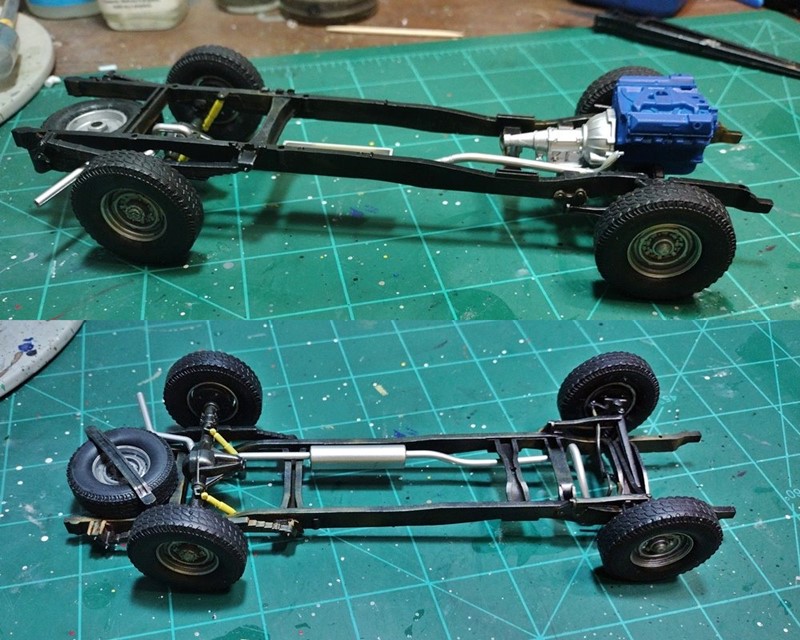
A couple of photos of the chassis build top and bottom Wheels aren't a fastened yet but looking good so far. I think the Ford Engine Blue might be a little too dark but I can live with it. I think the yellow shocks give a little color to the chassis, and before someone says that's not right. I looked up the shocks for this truck on an auto parts site, and they come in various colors including all yellow. I also did a wash on the steel wheels, don't know why as I intend to add the dish hubcaps to the build. You can't really see it in the photo but I did drill out the end of the exhaust.
| Part Four |
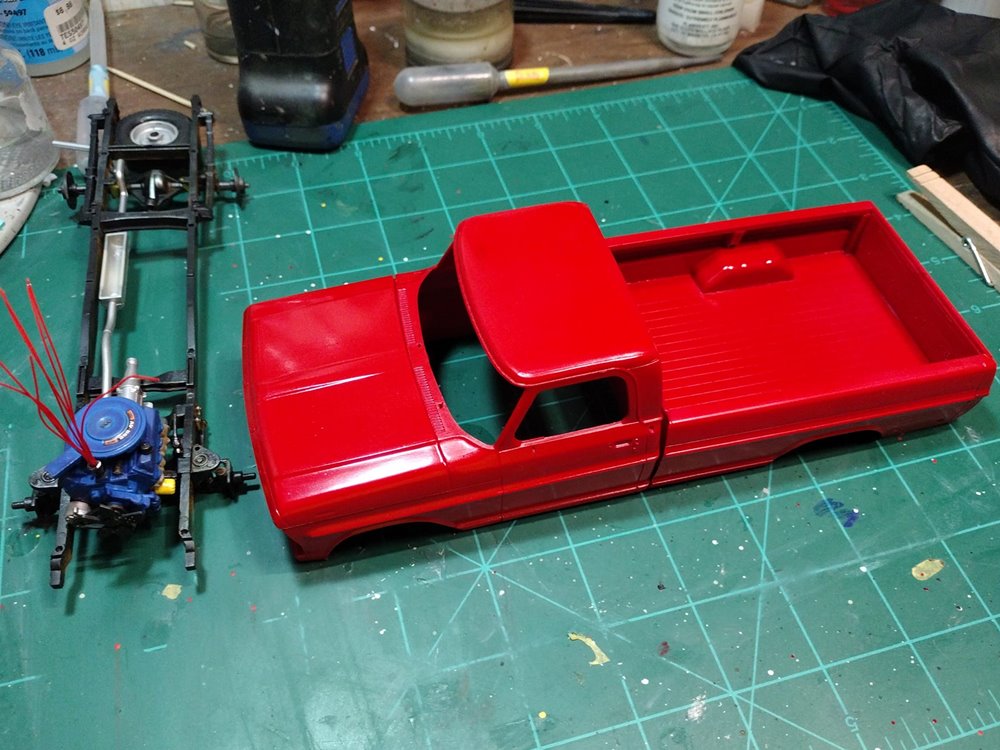
Here you can see the base color of Red. the paint went on very well I used Krylons Short Cuts. Pepper Red. No trouble at all even inside the bed and inside all the voids under the bed and in the engine Well. Since this is a work truck I might try and turn down the gloss on the finish.
The engine is also mostly completed and painted. Just have to finish wiring the spark plug wires. The engine goes together well and is nicely detailed.
| Part Five |
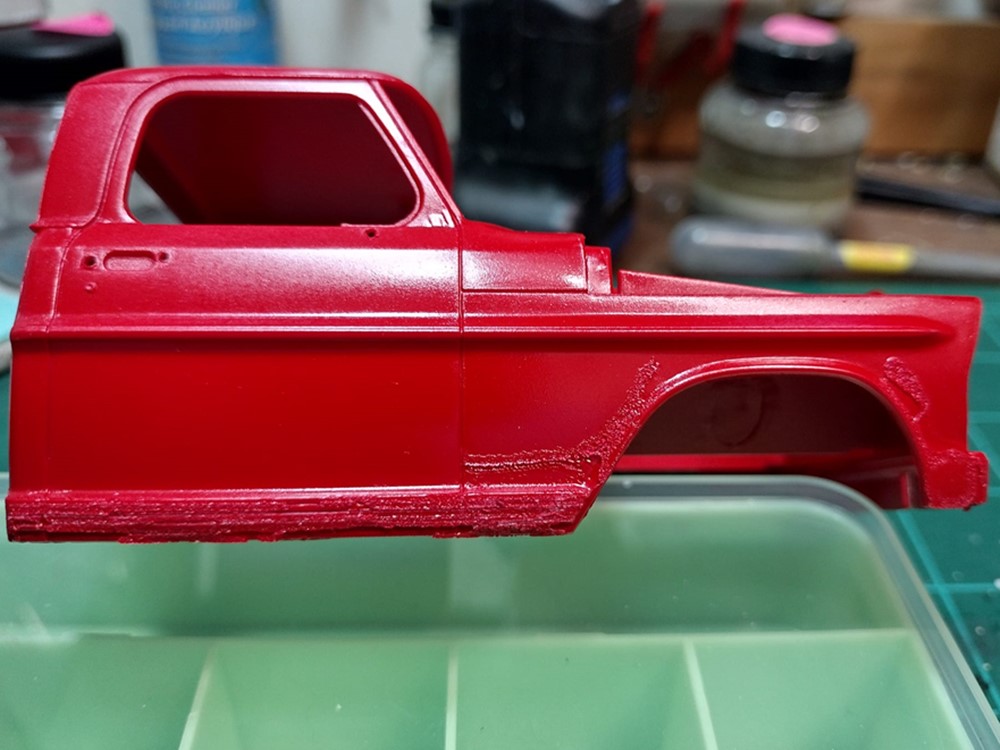
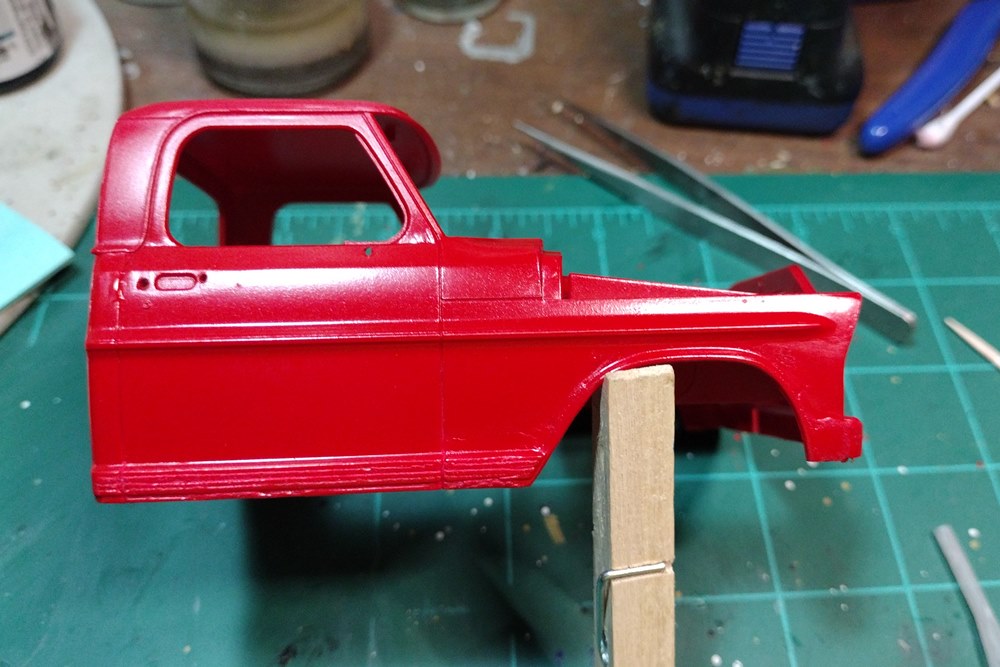
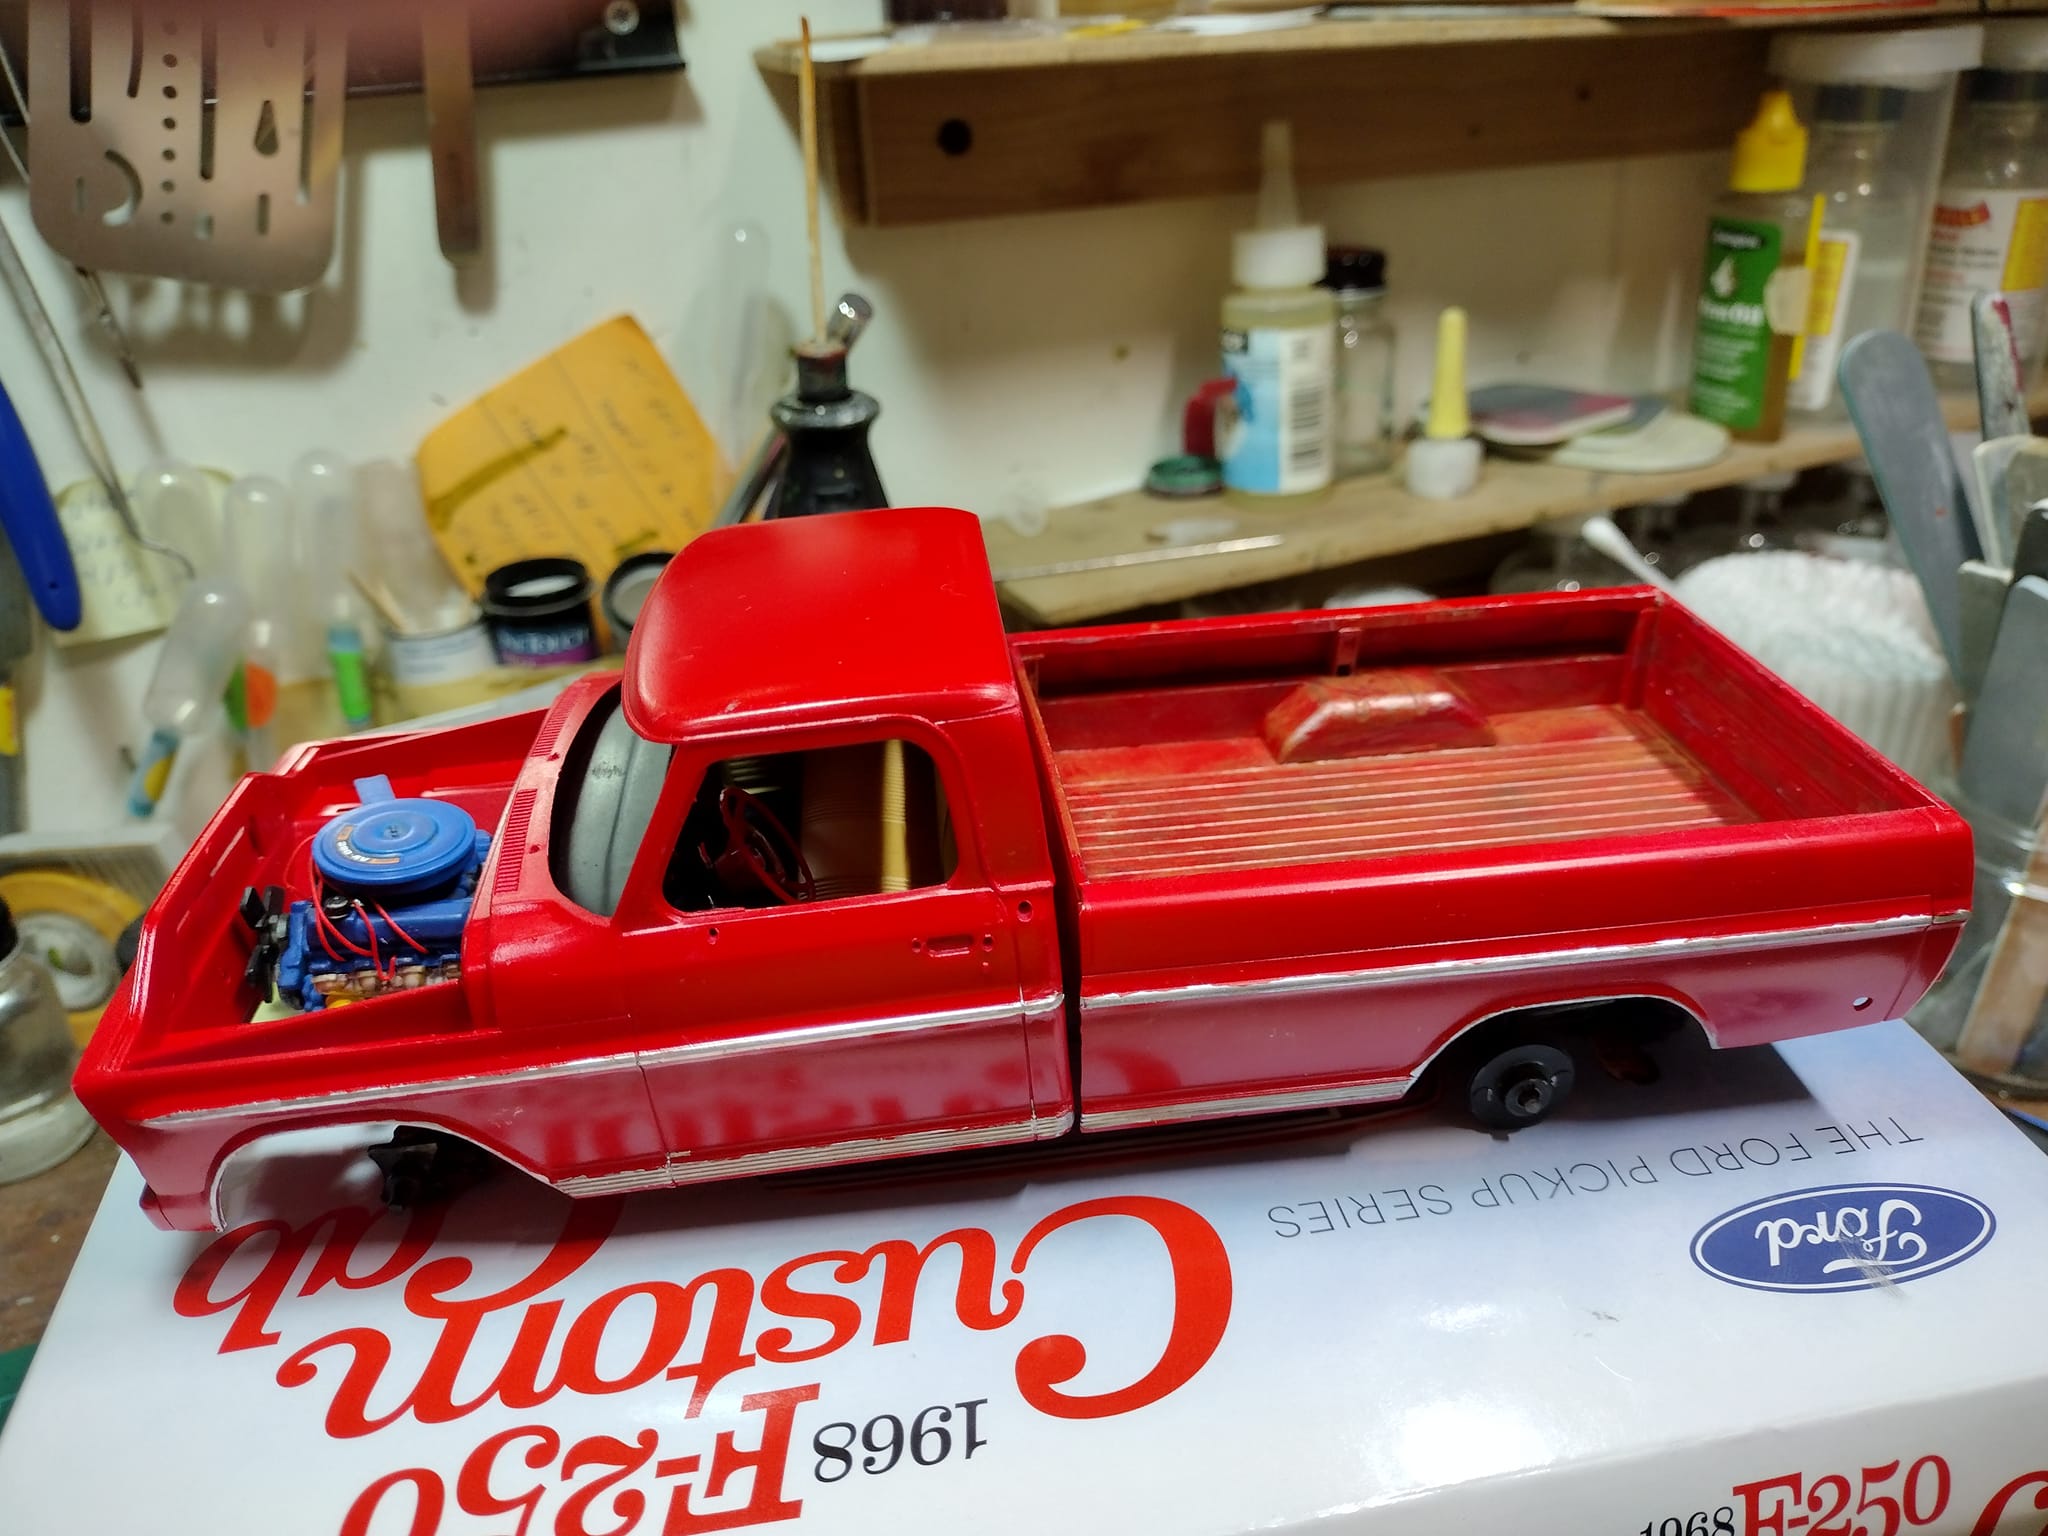
This is bad just before I did my painting I spilled my bottle of liquid glue I didn't think I got any on the model but after I did the painting I saw where it deformed the Chrome trim on the lower passenger side under the door of the truck and parts of the fender I'm going to sand that down and try to re-scribe the Chrome back to its original look if I can and smooth out the fender. This is going to take a little work a lot of sanding and then I will have to repaint it
| Part Six |
Ok I sanded down the damage and rescribed the trim lines.. and painted it again. Its not perfect but It will do.
| Part Seven |
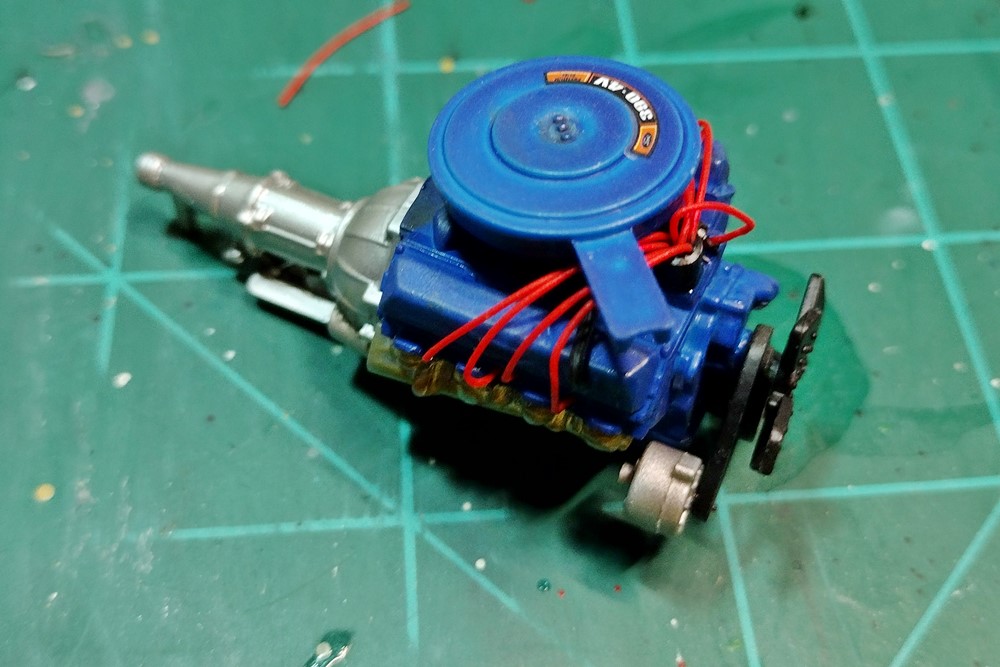
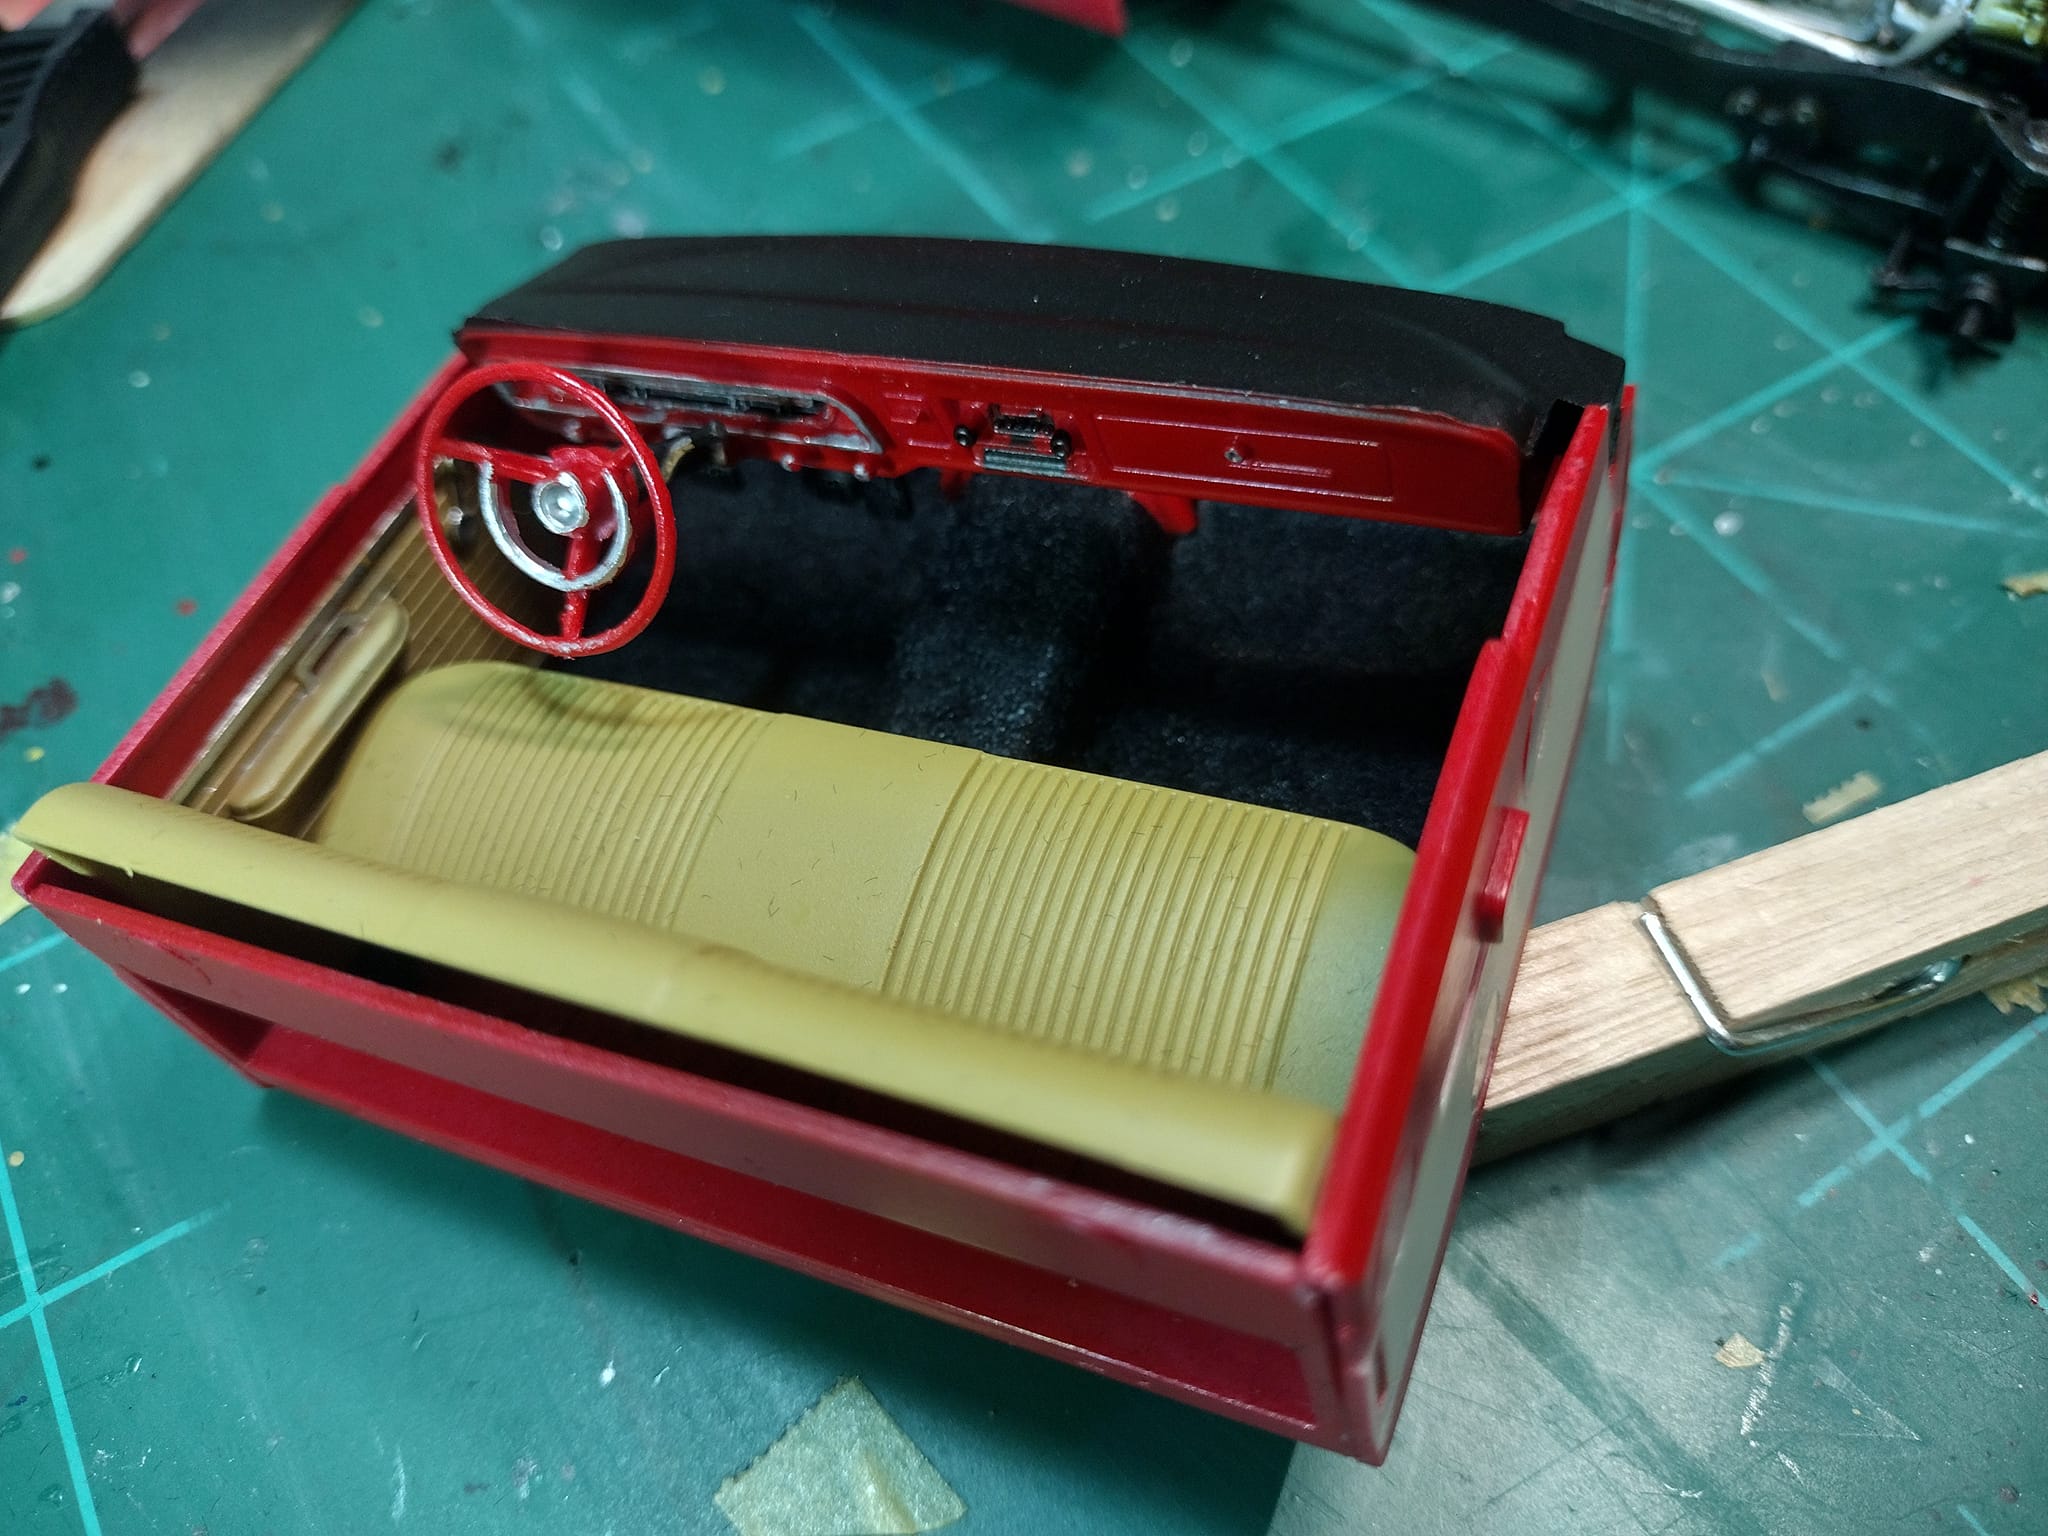
Ok a couple of things going on here, got the engine wired up with the spark plug wires. Also got the Interier finished up. I painted the floor pan black and used elmers glue on it then put in black flocking and then assembled everything.
| Part Eight |
| Part Nine |
| Part Ten |
| Final Finished Model. |
Click here to see more photos of my Finished Hudson Hornet in my Model Gallery
